Behold the cheeseboard at the end of the party. Picked over. Sparse. A shadow of its former Instagram-worthy self. But, look closely and you’ll see that there’s actually kinda still a lot of cheese there. Not to mention some zippy pickled cauliflower and some other goodies that might no longer be plated to perfection, but are still perfectly good to eat.
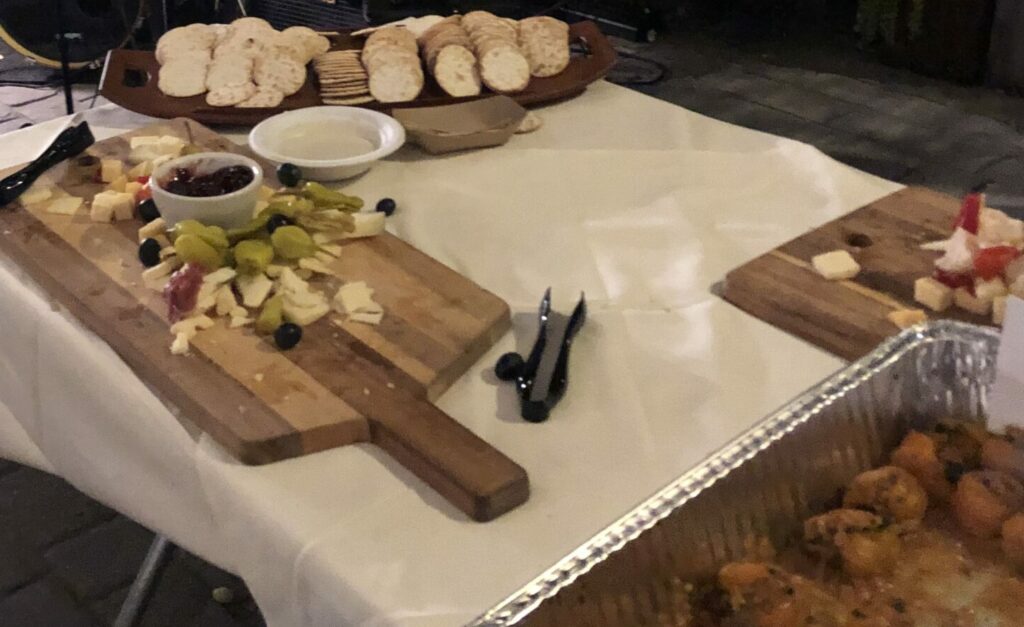
As the party featuring this spread was concluding, the organizers made clear that they wanted people to take home leftover food. Since this cheese had been sitting out and picked over, it couldn’t be donated. And there were more leftovers than any of the hosts or staff wanted to take home. So, I pulled out the container I had stashed in my bag and took as much as I could. I saw the future and the future was grilled cheese.
(Feeling a little funny about taking home buffet food? Check out this article I wrote for The Washington Post about bucking social norms to fight food waste. #Nobuffetwaste)
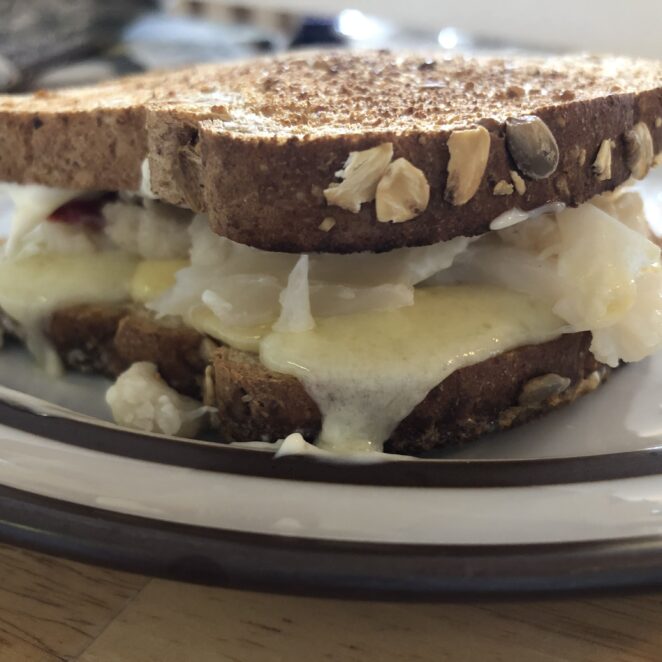
Grilled cheese is the perfect answer to extra party cheese for so many reasons. First, it’s easy and makes for a tidy next-day lunch. Second, it can incorporate other items on the cheese board too. Dried fruit? Pickled veggies? In they go! Third, you can veg things up at home and use whole grain bread for an indulgent, but still healthy-ish sandwich.
Finally, since grilled cheese involves heat, you have higher odds of zapping anything problematic that might have landed or grown on the food during the party. Not that such contamination was super likely, or that the heat guarantees you’ll nix any and all risk. But on the off chance something problematic is there, it helps. And while we’re on the topic of food safety, we suggest using soft cheeses and fresh cut veggies first as they have the shortest shelf lives. The cheddar will last in your fridge for longer.
Print
Leftover cheese platter grilled cheese
Description
Turn those cheeseboard extras into a grilled cheese that’s deliciously extra.
Ingredients
- Cheese board extras like:
-
Cheese, any kind (essential)
-
Pickled veggies
-
Other veggies
-
Dried fruit
-
- Vegetables friendly to grilled cheese that you need to use up. Spinach? Tomatoes? Kale (cooked or raw)
- Mayo. This will help prevent a dry sandwich if you’re using hearty bread and low-moisture cheeses
- Bread of your choice. The sandwich pictured is built on whole grain bread.
- Butter
Instructions
-
At the end of the party, eyeball the cheese platter. If it looks like the host has no plans for it, ask. If the host responds by saying “Oh my gosh, yes, please take as much as you can,” then do.
-
The next day (or, in the case of this cheeseboard rescue, over the course of the next several days), slice the cheese to a sandwich-friendly thickness. Do the same for any veggies you plan to add to the sandwich.
-
Sauté the buffet veggies in a little olive oil, if needed. (Optional. This is for folks who want to be extra cautious given that the food sat out. I choose to take this precaution myself, but some might consider it excessive)
-
Butter the bread.
-
Heat a pan to medium and put the buttered side down to toast the bread.
-
As soon as the bread is in the pan, layer the cheese on it. You can put the cheese on both slices of bread or just one. Sometimes I just do one and I put a layer of mayo on the other slice. I find mayo keeps heartier bread from tasting too dry.)
-
Layer the veggies and/or dried fruit onto the sandwich.
-
Keep an eye on the bread and the cheese, adjusting the heat as needed.
-
If the cheese isn’t melting as much as you’d like, transfer the bread, cheese-side-up to a plate and put it in a toaster oven for a final cheese-melting blast of heat.
-
Once everything is nicely warmed, put the top slice of bread on top to complete the sandwich. The party goes on!

