Can you cook or bake with sour milk?
When milk starts to smell off, it’s usually still perfectly fine to use in baking (for more, here’s a deep dive into spoiled milk). As long as the milk doesn’t stink or taste entirely foul to you, it’s probably still good to use in baked goods, or other preparations, especially those that use heat and especially those where other ingredients will likely cover up any off flavors.
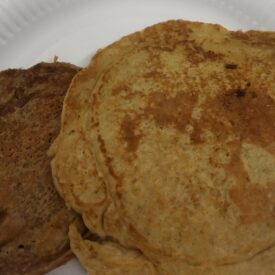
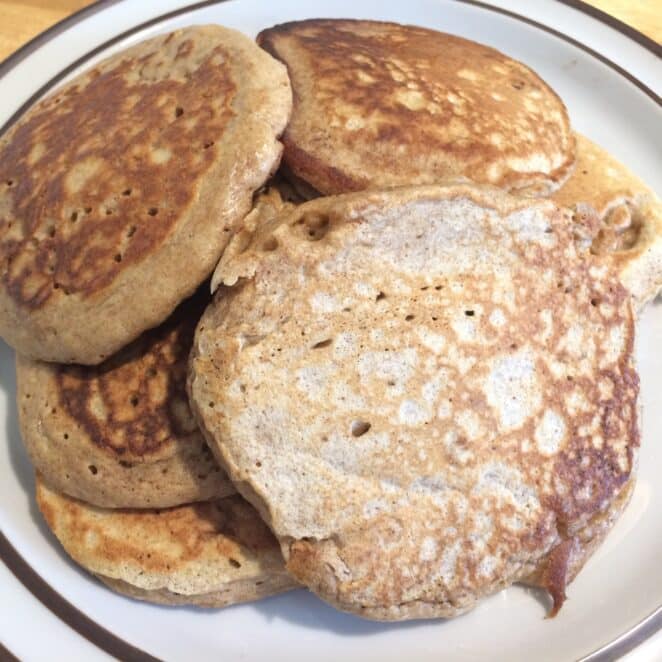
Like… pancakes!
This recipe is my adaptation of Sour Milk Pancakes in the Waste-Free Kitchen Handbook by Dana Gunders. I doubled the recipe because I never found that one batch was enough, and I liked to be able to freeze some pancakes for later. I also dropped the sugar and always use whole wheat flour, simply because I like the rustic flavor.
This is a great recipe to keep in your back pocket for that milk that’s starting to go off. But, you don’t need to go into sudden pancake flipper mode once your milk makes you crinkle your nose. Milk, even milk that’s starting to spoil, freezes well. Handily, those tall deli containers that soup and other takeout dishes are often served in, happens to be the perfect size for the amount of milk called for in the below recipe: two cups. Honestly, I don’t even measure the milk anymore, I just eyeball based on my trusty, reused deli containers. This works in part because the recipe is forgiving. If you fiddle it will most likely just mean the difference between pancakes that are more cakey or more crepey. I say you win either way.
And, as I mentioned earlier, these pancakes freeze super well. Revive them in the toaster oven for a quick breakfast/snack/dinner. And don’t forget to top them with fruit, especially any fruit you might need to use up!
Print
“Sour milk” pancakes
Description
The pancakes will make quick work of milk that’s starting to smell off.
Ingredients
- 2 cups whole wheat flour (can also use all purpose flour or a combination of both)
- 1 ½ teaspoons salt
- 1 teaspoon baking powder
- ½ teaspoon baking soda
- 2 cups milk that’s starting to spoil (but isn’t chunky and doesn’t smell absolutely terrible).
- 2 tablespoons neutral oil. I use canola.
- Butter for the pan
Instructions
-
In a large bowl, whisk the dry ingredients (flour, sugar, salt, baking powder and baking soda) until well mixed.
-
In a medium bowl, whisk the eggs, milk and oil together.
-
Make a well in the middle of the dry ingredients and pour in the wet ingredients. Mix until it’s relatively smooth, but don’t stress about some small lumps.
-
Put a pan/skillet/griddle on medium heat, place a pat of butter in the middle and swirl it around.
-
Ladle batter into the pan to create pancakes of your ideal size. (Mine tend to be about 3 inches in diameter.) Little bubbles will form on the pancakes’ edges. When they look “dried out” flip and cook for at least one more minute, until the center has cooked (You may need to test a few of the early pancakes to get a sense of the timing for your batter, skillet and stove set up).
-
When each pancake is finished, I like to put it on a plate in our large toaster oven, which is set at “keep warm.”
-
As you go, add more butter to the skillet as needed.
-
We like to top with maple syrup, Nutella and banana.
Notes
Make sure to freeze some for later. They warm up perfectly in the toaster!
If you don’t have time to make pancakes when you first detect milk starting to spoil, you can freeze the milk for later. The amount of milk needed for this recipe is roughly the same as what fits in one of those tall, clear, roud takeout “deli containers.”

